Embedding a feedback widget in a web app is the process of integrating a persistent UI element that lets users submit feedback directly inside your application, without leaving the page. Unlike triggered surveys that interrupt users mid-task, an embedded feedback widget sits quietly in your interface and captures input when users choose to share it. This approach gives product teams continuous, intent-driven feedback that reflects real frustration or delight in the moment. The technical implementation spans five primary embedding methods, multiple framework integrations, and security practices that most tutorials skip entirely.
How do you embed a feedback widget in a web app?
The five primary methods for embedding feedback widgets are floating buttons, inline embeds, custom triggers, iFrame embeds, and direct URLs. Each method serves a different use case, and picking the wrong one creates friction for both users and developers.
Floating buttons attach to a fixed corner of the viewport and follow the user as they scroll. They have minimal layout impact and work on almost any page without restructuring your HTML. This makes them the most popular choice for SaaS products that want feedback available everywhere without dedicating screen space to it.

Inline embeds place the feedback form directly inside a page section, such as a dedicated "Send Feedback" page or a settings panel. They suit situations where feedback is the primary action, not a secondary one. The tradeoff is that users must navigate to that page intentionally.
Custom triggers fire the widget programmatically, for example after a user completes a key action like exporting a report or finishing onboarding. This method requires more code but produces highly contextual feedback tied to specific product moments.
iFrame embeds load the widget inside an isolated HTML frame. They are the fastest way to add a feedback form without touching your app's JavaScript bundle, though they limit styling control and can create accessibility challenges. Direct URL embeds redirect users to a hosted feedback page, which works for low-traffic scenarios but breaks the in-app experience entirely.
| Widget type | Best use case | Main tradeoff |
|---|---|---|
| Floating button | Always-available feedback across all pages | Covers UI if poorly positioned |
| Inline embed | Dedicated feedback or settings pages | Requires user navigation |
| Custom trigger | Post-action contextual feedback | Requires additional JavaScript |
| iFrame embed | Quick integration with no JS changes | Limited styling control |
| Direct URL | Simple, low-traffic feedback collection | Breaks the in-app experience |
Modern feedback SDKs are framework-agnostic, meaning the same script works across React, Vue, Next.js, and plain HTML. That compatibility matters because your choice of embedding method should be driven by UX goals, not by your tech stack.
What do you need before embedding a feedback widget?
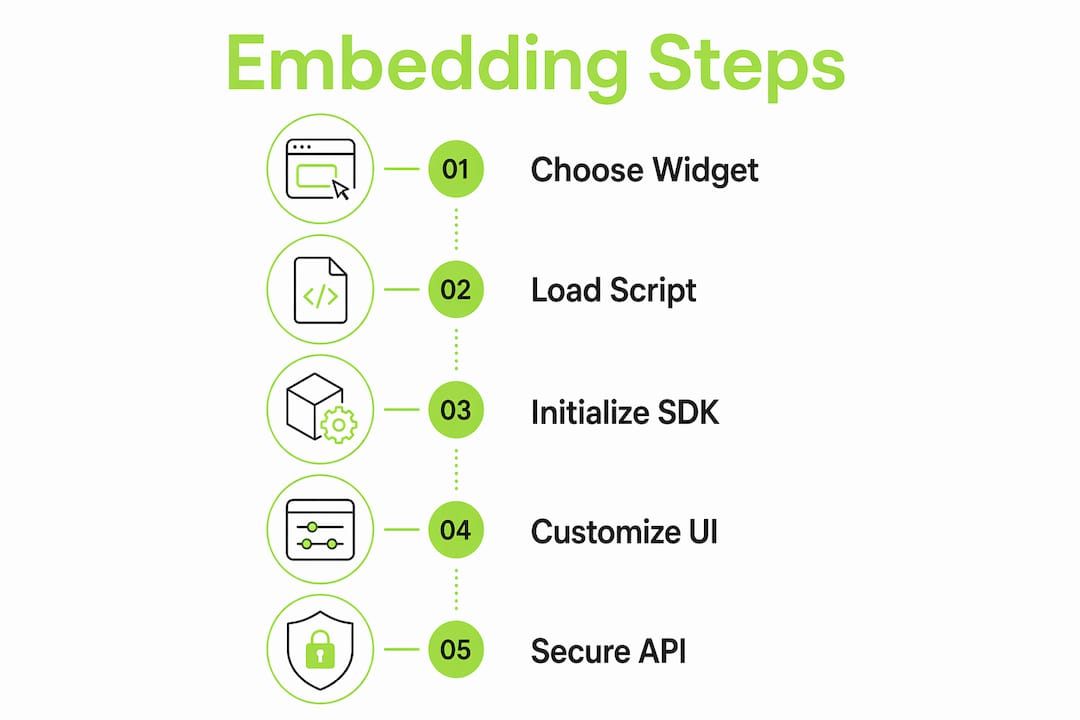
Setup requires three things before you write a single line of integration code: a widget account with an active project, your embed code or SDK script, and a clear plan for what user metadata you want to attach to each submission.
- Create your widget account and project. Most platforms generate a unique project ID or embed key tied to your application. Keep this key in your environment variables, never in your source code.
- Obtain your embed script or SDK package. Platforms typically offer a JavaScript snippet for HTML projects or an npm package for framework-based apps. Install the npm package with
npm installor copy the script tag directly. - Define your metadata schema. Decide which user properties, such as account ID, plan tier, and feature flags, you want attached to every feedback submission. Defining this upfront prevents retrofitting later.
- Set up a server-side relay endpoint. Never expose API keys client-side. Route feedback data through a backend endpoint that holds your API key in a server-only environment variable, validates the payload, and forwards it to your feedback service.
- Audit your Content Security Policy. If your app uses a strict CSP header, add the widget's domain to your
script-srcandconnect-srcdirectives before testing.
Pro Tip: Store your widget API key in .env.local for Next.js or in your CI/CD secrets manager. A key accidentally committed to a public repository can expose your feedback data to anyone.
Security is not optional here. Validating and sanitizing payloads server-side before sending them to your feedback service prevents injection attacks and ensures data integrity.
Step-by-step guide to embedding in React, Vue, and Next.js
The technical path differs slightly by framework, but the core pattern is the same: load the script asynchronously, initialize the widget after the DOM is ready, and pass user context at initialization.
Plain HTML
- Copy your widget's
<script>tag from the platform dashboard. - Paste it just before the closing
</body>tag. Placing the script here ensures asynchronous loading without blocking page render. - Call the widget's init function with your project ID and any user metadata immediately after the script tag.
<script src="https://widget.example.com/widget.js" async></script>
<script>
  window.FeedbackWidget.init({
    projectId: "YOUR_PROJECT_ID",
    user: { id: "user_123", plan: "pro" }
  });
</script>
React
Use the useEffect hook to initialize the widget after the component mounts. This prevents server-side rendering errors and guarantees the DOM exists before the script runs.
useEffect(() => {
  const script = document.createElement("script");
  script.src = "https://widget.example.com/widget.js";
  script.async = true;
  script.onload = () => {
    window.FeedbackWidget.init({ projectId: "YOUR_PROJECT_ID" });
  };
  document.body.appendChild(script);
  return () => document.body.removeChild(script);
}, []);
Vue
Use the onMounted lifecycle hook in the Composition API. The pattern mirrors React's useEffect and ensures the widget loads only in the browser environment.
Next.js
Next.js requires a specific approach because of its server-side rendering and App Router architecture. Use the built-in Script component with the strategy="afterInteractive" prop. Next.js recommends this strategy for third-party widgets that should load after the page becomes interactive.
import Script from "next/script";

export default function Layout({ children }) {
  return (
    <>
      {children}
      <Script
        src="https://widget.example.com/widget.js"
        strategy="afterInteractive"
        onLoad={() => window.FeedbackWidget.init({ projectId: "YOUR_PROJECT_ID" })}
      />
    </>
  );
}
Place this in your root layout file so the widget persists across all routes. In single-page applications, the widget persists across route changes automatically with no additional handling required. That behavior eliminates the need to reinitialize on every navigation event.
Pro Tip: Test your widget initialization in an incognito window with browser DevTools open. Check the Network tab to confirm the script loads asynchronously and does not appear in the critical rendering path.
| Framework | Initialization hook | Key consideration |
|---|---|---|
| Plain HTML | Script before </body> |
Simplest approach, no framework dependency |
| React | useEffect with cleanup |
Prevents duplicate script injection on re-render |
| Vue | onMounted |
Works with both Options and Composition API |
| Next.js | Script with afterInteractive |
Handles SSR and App Router correctly |
How do you customize and secure an embedded feedback widget?
Customization falls into three categories: user context injection, visual styling, and access control. Getting all three right is what separates a widget that produces noise from one that produces signal.
User context injection is the highest-leverage customization you can make. Passing non-secret user metadata such as account ID, subscription plan, and active feature flags through the widget config automatically links every submission to the right user. Product managers can then filter feedback by plan tier or feature cohort without any manual cross-referencing.
Visual styling requires care. Your app's global CSS can unintentionally override widget styles, or the widget's styles can bleed into your layout. The fix is Shadow DOM encapsulation, a Web Components technique that creates a separate style scope for the widget. If the widget does not natively use Shadow DOM, apply a unique CSS namespace prefix to all widget classes and scope them with a wrapper element.
- Use Shadow DOM or CSS namespaces to isolate widget styles from your app's stylesheet.
- Set
z-indexvalues explicitly to prevent the widget from hiding behind modals or sticky headers. - Test the widget on your darkest and lightest UI themes to catch contrast issues.
- Confirm that keyboard navigation and focus states work correctly. A widget that is invisible until clicked must still be reachable via the Tab key.
Access control means your API key never touches the browser. Set up a /api/feedback endpoint in your backend that accepts the widget payload, validates required fields, strips any unexpected properties, and then forwards the clean data to your feedback service using the server-stored API key.
Pro Tip: Use GDPR-compliant platforms that support field masking and IP anonymization out of the box. Coevy, for example, includes both features natively, which reduces the compliance work your team needs to do manually.
Troubleshooting common feedback widget integration issues
Most integration problems fall into four categories, and each has a straightforward fix.
- CSS conflicts: The widget button disappears or renders incorrectly because your app's CSS resets or global styles override it. Apply Shadow DOM or a scoped CSS namespace as described above. Inspect the widget element in DevTools and look for overridden properties shown in strikethrough text.
- Render blocking: The widget script loads synchronously and delays your page's Time to Interactive metric. Move the script tag to just before
</body>, add theasyncattribute, or use theafterInteractivestrategy in Next.js. - Widget missing after navigation: In multi-page apps without a shared layout, the widget script does not reinitialize on new pages. Move the script to a shared base template or root layout component so it loads once and persists.
- Mobile layout issues: The floating button overlaps mobile navigation bars or content. Test on real devices, not just browser emulators, and add a
bottomoffset in your widget config to clear native UI elements. - Feedback submissions not arriving: Check your server-side relay endpoint for payload validation errors. Log the raw incoming payload before processing to confirm the widget is sending data in the expected format.
Automatic metadata capture, including page URL, browser version, and session ID, reduces the need for users to describe their environment. When submissions do arrive without context, the first thing to check is whether your metadata injection config is firing before the widget initializes.
Key Takeaways
Embedding a feedback widget correctly requires choosing the right widget type, loading it asynchronously, injecting user context at initialization, and securing API keys behind a server-side relay.
| Point | Details |
|---|---|
| Choose the right widget type | Floating buttons suit always-on feedback; inline embeds work best on dedicated feedback pages. |
| Load scripts asynchronously | Place scripts before </body> or use afterInteractive in Next.js to avoid blocking page render. |
| Inject user metadata at init | Pass account ID and feature flags at initialization to make every submission immediately actionable. |
| Secure API keys server-side | Never expose API keys in client code; route submissions through a validated backend relay endpoint. |
| Isolate widget styles | Use Shadow DOM or CSS namespaces to prevent style conflicts between the widget and your app. |
Why most teams get feedback widgets wrong
Most teams treat the feedback widget as a checkbox. They paste a script tag, confirm the button appears, and move on. The widget then collects hundreds of submissions that say "it's broken" with no URL, no user ID, and no browser info attached. That data is nearly useless.
The teams that get the most value from embedded feedback do two things differently. First, they treat metadata injection as a first-class feature, not an afterthought. When every submission arrives with the user's account ID, current route, and active experiment flags, a product manager can act on it in minutes rather than spending an hour tracking down the reporter. Second, they treat accessibility as a baseline requirement, not a nice-to-have. A widget that only keyboard users cannot reach is a widget that excludes a meaningful portion of your audience.
The other mistake I see constantly is skipping the server-side relay. Developers paste the API key directly into the frontend config because it is faster. Six months later, someone finds it in a public GitHub repo or a browser DevTools session. The relay adds maybe two hours of work and eliminates that risk entirely.
The deeper point is that a feedback widget is only as good as the system around it. Collecting feedback is the easy part. The hard part is building the habit of reviewing it weekly, tagging patterns, and closing the loop with users who reported issues. Platforms like Coevy help with the feedback loop process by combining widget collection with AI-powered tagging and prioritization, which cuts the triage time significantly.
— Dizzy
Coevy makes feedback collection work from day one
Coevy's embedded widget loads asynchronously, works across React, Vue, Next.js, and plain HTML, and attaches session context automatically to every submission. You get bug reports with session replays and AI-generated reproduction steps, not just a text box entry.
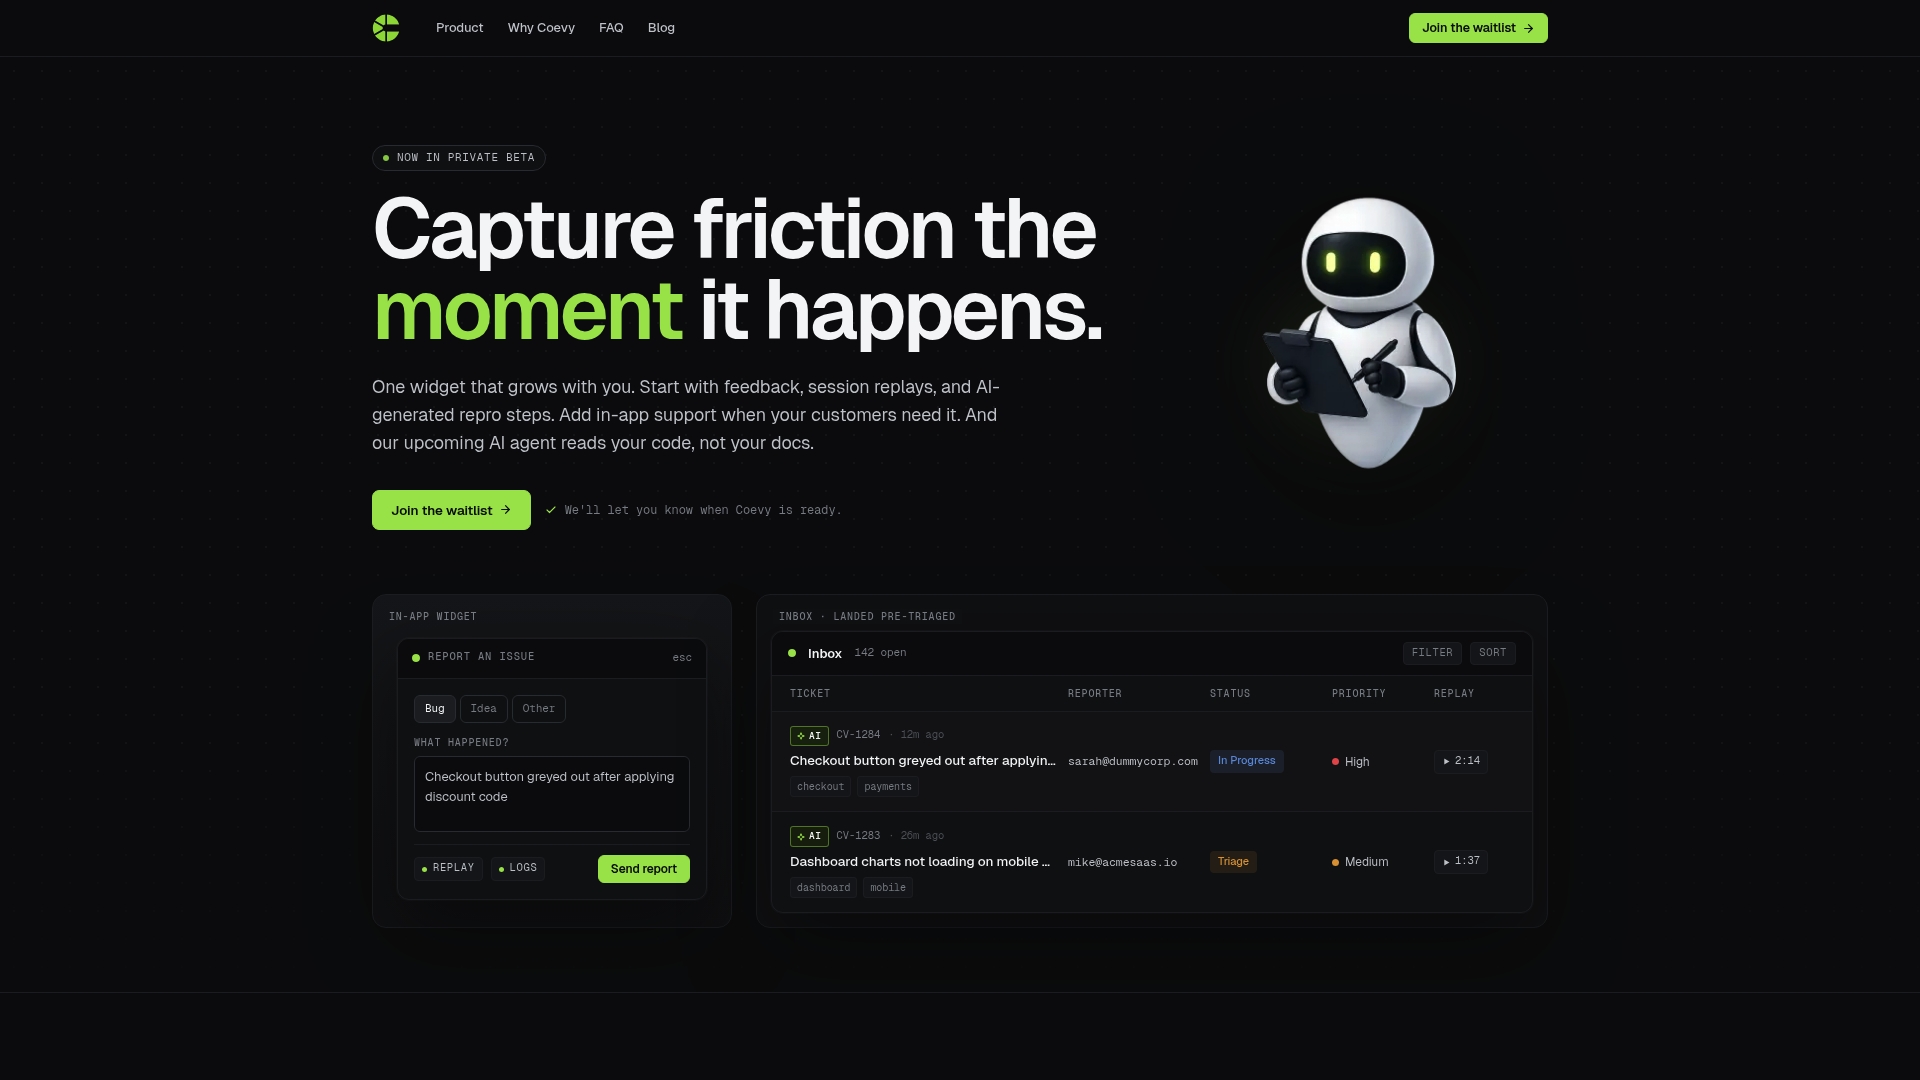
GDPR compliance is built in, with field masking and IP anonymization included by default. The in-app feedback widget handles the full workflow from first submission to resolved ticket, without requiring your team to stitch together separate tools. If you want feedback that your team can actually act on, Coevy is worth a close look.
FAQ
What is an embedded feedback widget?
An embedded feedback widget is a persistent UI element integrated directly into a web application that lets users submit feedback without leaving the page. Unlike external survey links, it captures input in context, tied to the user's current session and environment.
How do feedback widgets integrate in web apps?
Feedback widgets integrate via a JavaScript snippet or SDK that you load asynchronously into your app's HTML, React component tree, or Next.js layout. The widget initializes after the DOM is ready and persists across route changes in single-page applications.
How do I keep my API key secure when embedding a feedback widget?
Never place your API key in client-side code. Set up a server-side relay endpoint that holds the key in an environment variable, validates the incoming payload, and forwards it to your feedback service.
Do feedback widgets work in React and Next.js?
Yes. In React, initialize the widget inside a useEffect hook. In Next.js, use the built-in Script component with the strategy="afterInteractive" prop to load the widget after the page becomes interactive without blocking rendering.
Why is user metadata important in feedback widget submissions?
Passing user metadata such as account ID, plan tier, and feature flags at widget initialization links every submission to a specific user and context. This eliminates manual cross-referencing and makes feedback immediately usable by product and engineering teams.